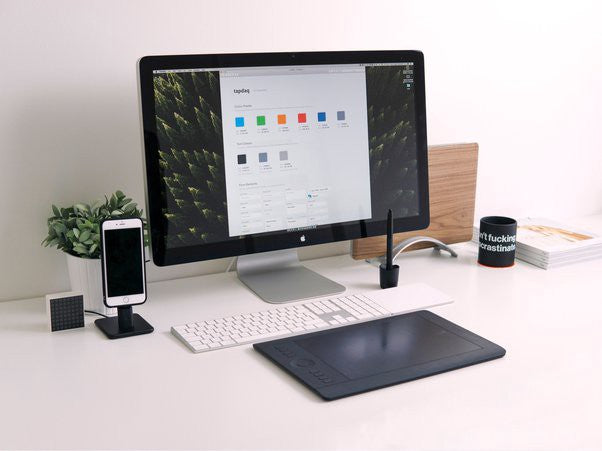
Can you trace images with a Wacom tablet?
Wacom’s devices are generally considered the best Graphic tablets on the market; think of a Japanese company like the Apple of graphic tablets. For that reason, they’re used by everyone from hobby photographers to professional artists — and by designers, animators, and architects the world over.
In this article, we give you the information to choose the right one for your needs.

One thing to look out is the number of levels of pressure sensitivity, which suggests how closely the drawing on screen will resemble your actual pen marks. The more levels, the better. If you’re a beginner or casual drawer, you’ll probably find the lower end of 2,048 perfectly fine, but if you’re a pro or semi-pro you may want to hold out for more.
Yes you can trace an image with Wacom, here are some steps you can use:
Step 1
Plug your Wacom tablet into a USB port on your computer. Make sure your computer is turned on.
Step 2
Open Adobe Photoshop, or the software of your choice. Wacom tablets will work with any program.
Step 3
Turn the Wacom tablet over. You should see four rectangles close to each corner. These little rectangles slide back when you push on them. Slide each one back to open the cover of the tablet. Turn the tablet back over and lift the clear cover off.
Step 4
Place the picture you want to trace onto the graphic tablet. Adjust the image so the part of the picture you want to trace is in the middle of the graphic tablet.
Step 5
Place the clear cover over both the picture and the graphic tablet. Hold the cover in place and flip the tablet back over, or lift it above your head so you can see underneath it. Slide the rectangles back into place to secure the cover.
Step 6
Trace over the photo with the stylus that comes with the graphic tablet. It will appear instantly within the photo-editing program.
